Step 1: Define Your Goals and Budget
Before you dive into any renovation, it’s crucial to outline your goals and set a budget. Ask yourself:
- What do I want to achieve with this space? (e.g., home theater, guest suite, home office)
- What’s my budget? Consider not only construction costs but also furniture, fixtures, and decor.
- Are there any specific features I want to include? (e.g., a bathroom, wet bar, or soundproofing for a home studio)
Pro Tip: Research the potential return on investment for various types of renovations. A finished basement can add significant value to your home, especially in Ontario’s competitive housing market.
Step 2: Check for Moisture and Waterproofing
Basements are particularly susceptible to moisture issues, so it’s essential to address any existing problems before starting your renovation. Look for signs of moisture, such as damp walls or floors, musty odors, or mold.
Key Steps:
- Inspect for Leaks: Check for any cracks in the walls or foundation and seal them. Professional waterproofing might be necessary for larger issues.
- Install a Sump Pump: If you don’t already have one, a sump pump can help keep your basement dry, especially during heavy rains.
- Consider a Vapor Barrier: Adding a vapor barrier can prevent moisture from seeping through your walls and floors.
Step 3: Research Ontario Building Codes and Permits
In Ontario, basement renovations often require permits, especially if you’re adding or altering plumbing, electrical work, or structural elements. Check with your local municipality for specific requirements and ensure that your renovation complies with Ontario’s Building Code.
Common Permits Required:
- Building Permit: Required for structural changes, plumbing, and electrical work.
- Plumbing Permit: Needed for adding a bathroom or wet bar.
- Electrical Permit: Required for new wiring, lighting, or electrical outlets.
Pro Tip: Hiring a licensed contractor familiar with Ontario’s building regulations can simplify the permit process and ensure that your renovation is up to code.
Step 4: Plan the Layout and Design
With the structural and legal considerations in place, it’s time to plan your basement’s layout. Consider how you want to divide the space and whether you want an open-concept design or separate rooms.
Key Considerations:
- Purpose of Each Area: Will you need partitions, or can an open-plan layout serve your needs?
- Lighting: Basements tend to have limited natural light, so plan for ample artificial lighting. Recessed lights, track lighting, and wall sconces can brighten the space.
- Storage: Make the most of built-in storage options, like shelving units or closets, to keep the area clutter-free.
Step 5: Focus on Insulation and Soundproofing
Proper insulation is essential for keeping your basement comfortable year-round and reducing heating costs. If you plan to use the space as a home theater or music studio, soundproofing may also be a priority.
Insulation Options:
- Spray Foam: Offers excellent insulation and moisture resistance.
- Rigid Foam Boards: Cost-effective and easy to install, suitable for walls and floors.
- Fiberglass Batts: Traditional option, but ensure it has a moisture barrier.
For soundproofing, consider adding sound-dampening drywall, acoustic panels, or carpeting.
Step 6: Plan for Heating, Cooling, and Ventilation
Basements can be colder than the rest of the house, so it’s important to include heating options in your plans. If your basement is connected to the main HVAC system, ensure there is adequate ventilation. Portable heaters or electric baseboards can be useful if your HVAC doesn’t extend to the basement.
Heating Solutions:
- In-Floor Heating: Great for basement bathrooms and provides consistent warmth.
- Electric Baseboard Heaters: Effective and affordable for smaller spaces.
- Ductless Mini-Split Systems: Ideal for controlling temperature in separate areas.
Step 7: Choose the Right Flooring and Finishing Touches
Basement flooring options should be moisture-resistant and durable. Some popular choices include:
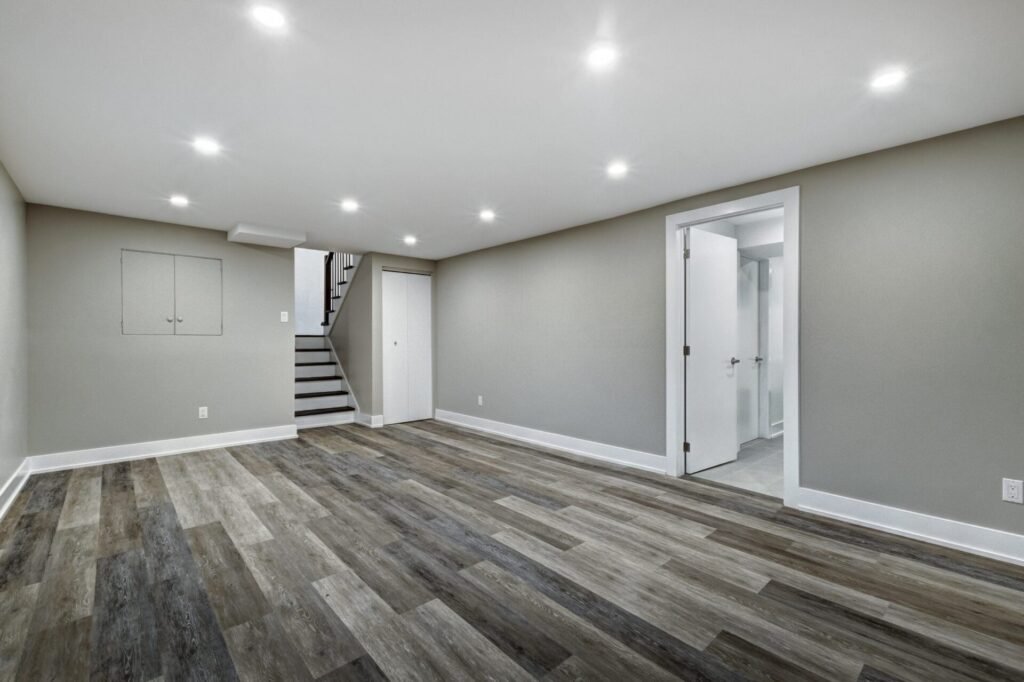
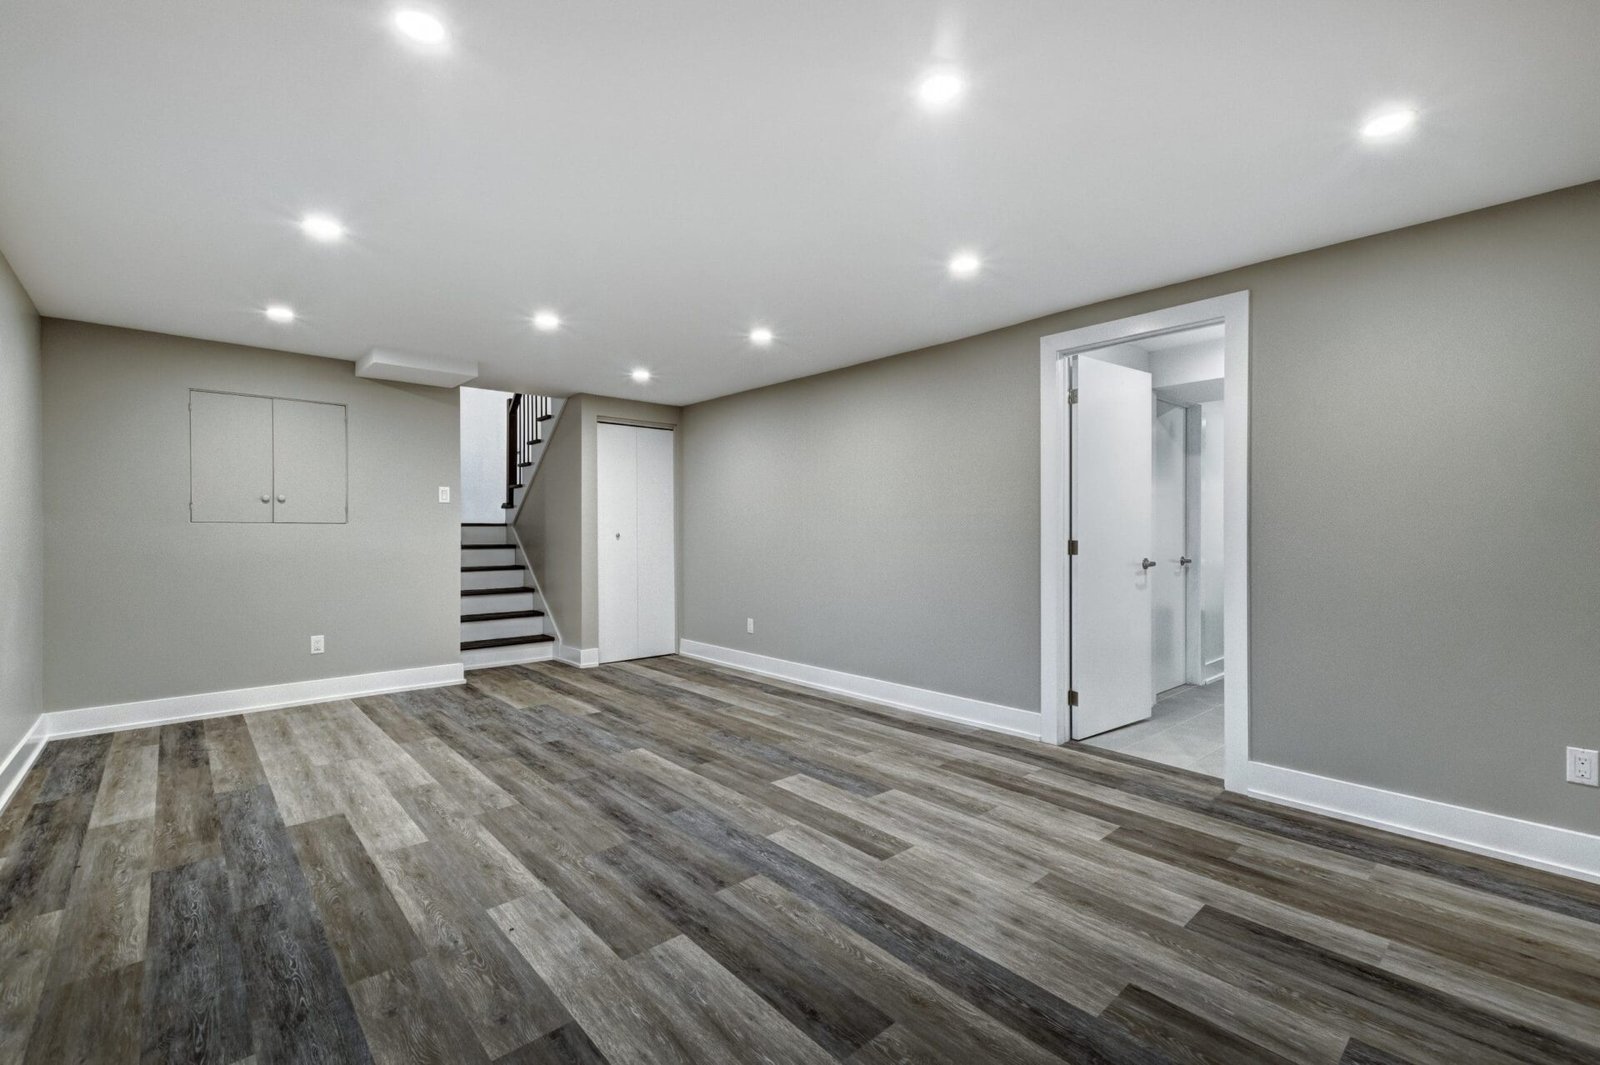
- Luxury Vinyl Plank: Waterproof, durable, and available in many styles.
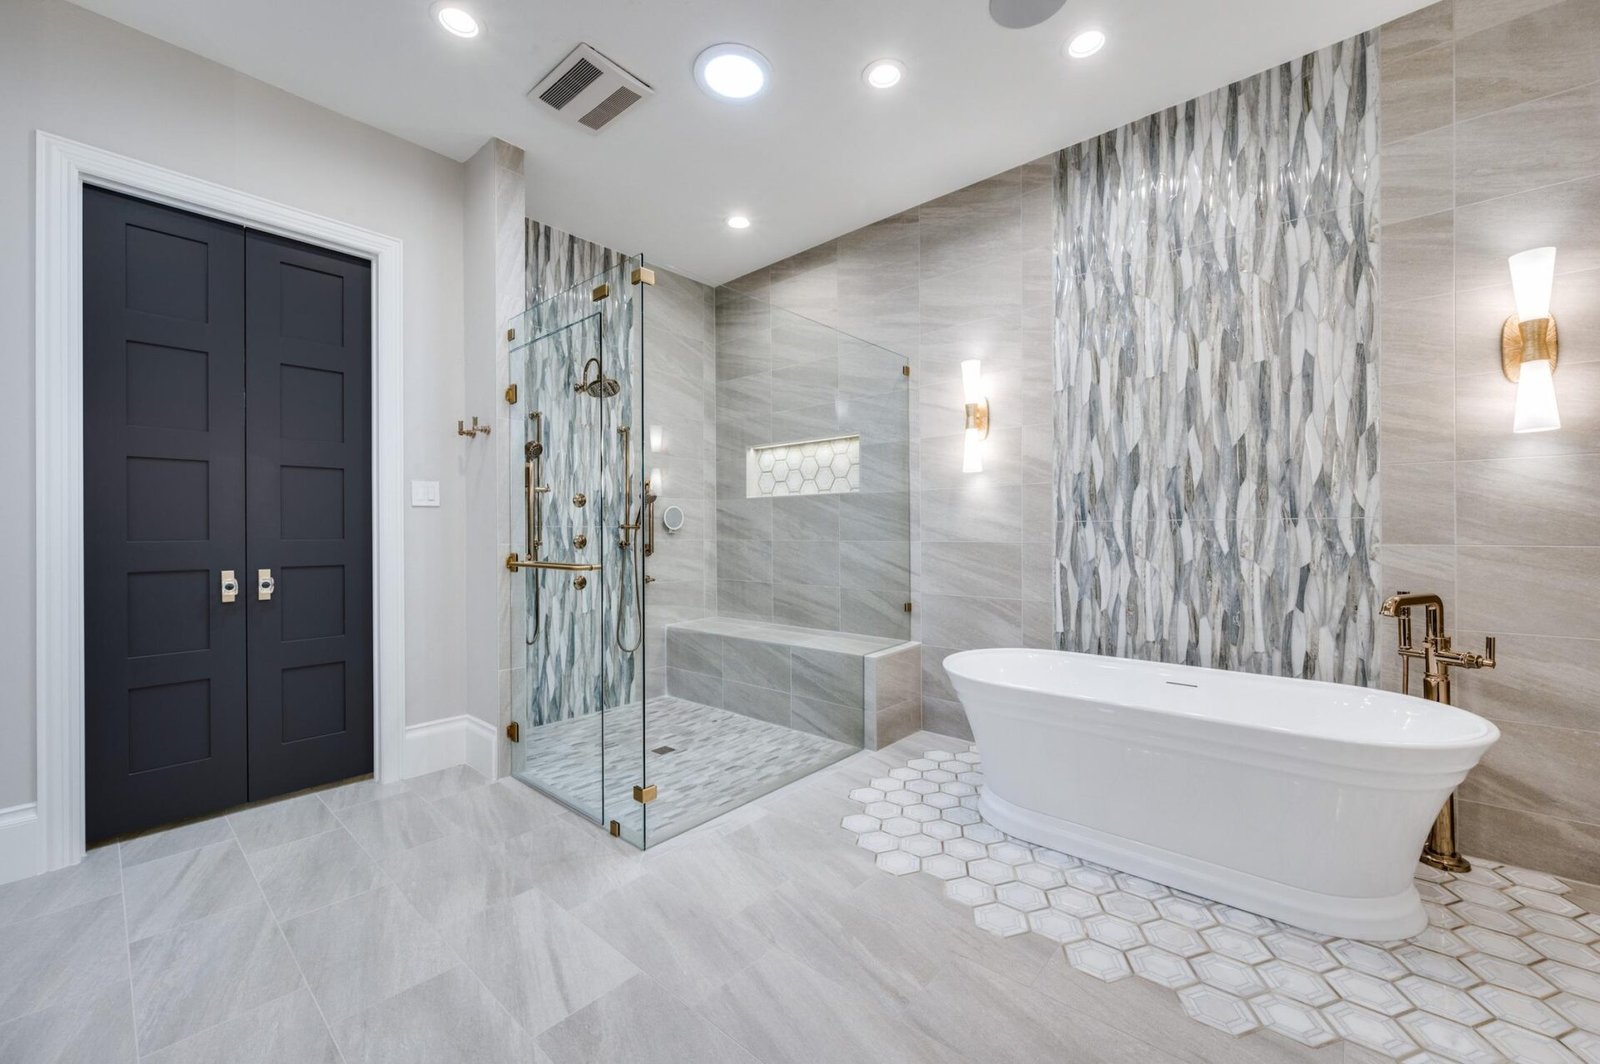
- Tile Flooring: Moisture-resistant and perfect for areas prone to spills.
- Engineered Wood: Provides a warm, natural look while being more moisture-resistant than solid wood.
Finishing Touches:
- Paint Colors: Lighter colors can make the space feel larger and more inviting.
- Ceiling Options: Drop ceilings allow easy access to utilities but may lower ceiling height. Drywall offers a more finished look.
- Furniture and Decor: Consider the purpose of each space when selecting furniture. For example, comfortable seating is a must for a home theater, while a desk and ergonomic chair are essential for a home office.
Step 8: Hire a Professional Contractor
A successful basement renovation requires expertise in various areas, including electrical work, plumbing, and carpentry. Hiring a professional contractor ensures the job is done safely and up to Ontario’s standards. At Generational Homes, we specialize in transforming basements into beautiful, functional spaces that add value and enjoyment to your home.
By following these steps, you’ll be well on your way to achieving a basement renovation that meets your needs and enhances your home. At Generational Homes, we’re here to guide you through every phase of the process, ensuring a smooth and stress-free renovation experience. Whether you’re looking to create a cozy retreat, a home gym, or an entertainment hub, we have the expertise to bring your vision to life.
Would you like additional information on any of these steps, or do you have specific questions about your basement renovation project? Reach out to us at Generational Homes, and let’s discuss how we can help transform your basement into the space of your dreams.
4o


